The benefits of mini monitors
the ultimate guide to setup your pixsoul displa...
welcome to pixsoulau's ultimate guide to setting up your mini-monitor! we've got you covered with essential tips and tricks to make the most out of your pixsoul display. choose the...
the ultimate guide to setup your pixsoul displa...
welcome to pixsoulau's ultimate guide to setting up your mini-monitor! we've got you covered with essential tips and tricks to make the most out of your pixsoul display. choose the...
introducing rainmeter
pixsoul displays are used to enhance your computer set-up by allowing the user to
express themselves aestheticaly. To achieve this, the use of Rainmeter
is a must for limitless customisation. follow along for a FREE way to integrate menus,
clocks/date & system monitoring skins on your display.
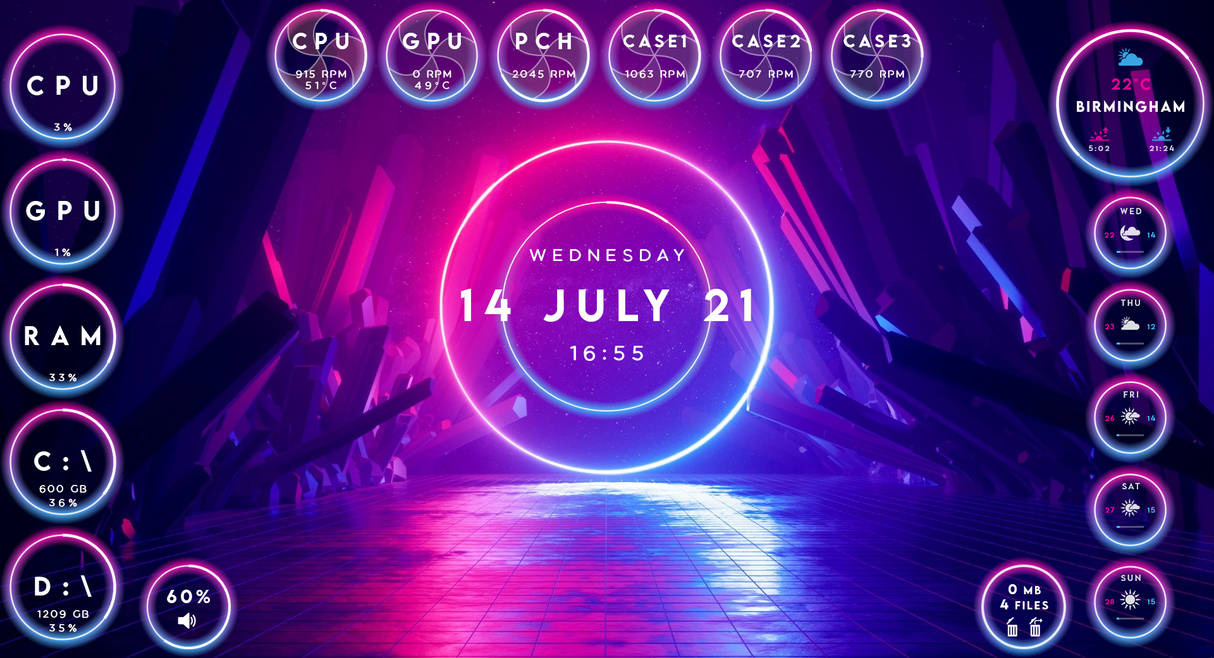
The link below is rainmeter.
Rainmeter is an open-source program that allows users to enable “skins”
to run on their desktop. These “skins” are fully customizable and can be
compared as an improvement of windows gadgets/widget. Most popular uses include
custom clocks, system monitoring, audio visualizers and weather skins and luckily,
they have a healthy community, meaning you can easily download and template and
designs.
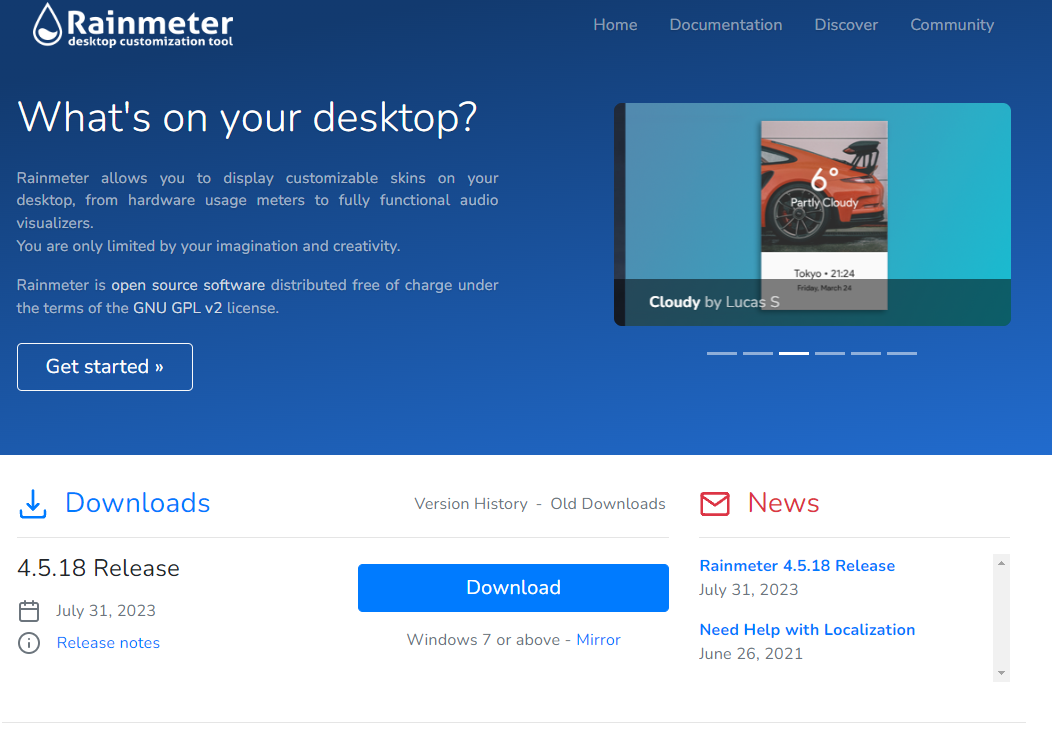
download rainmeter
First go on the website, download and install.
https://docs.rainmeter.net/manual/installing-rainmeter/
Remember this folder location for later on.
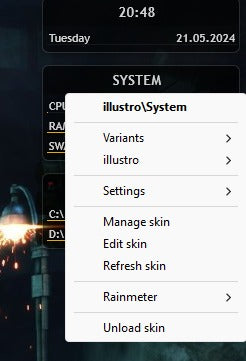
unload default skins
Once installed, you will notice some skin overlay appear over your desktop.
Right click, and “unload skin” on each item that has appeared.
By default “illustro” is pre-installed and comes with
rainmeter as basic designs. Feel free to get familiar with these skins.
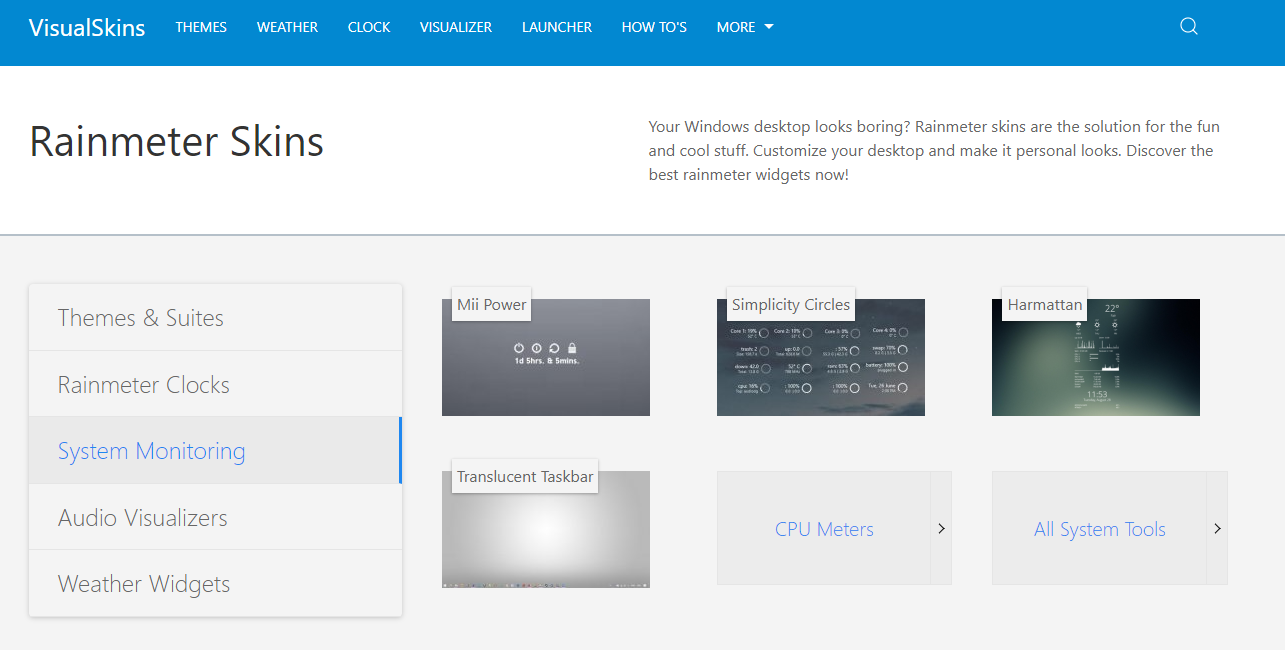
introducing visual skins
VisualSkins, is a library of skins for Rainmeter. spend time searching for the design that best suits you.

trying out the famous mond
for this example, we are going to help show you one of the most popular styles to display Day and Time, with “Mond”
Click on the link below and download

where to save skins
Download the “mond” .rmskin file and place inside the Skins folder.
>OS (C:)
>Program Files
>Rainmeter
>Defaults
>Skins
When you are in the Skins folder, you will see “illustro”
Now just save the file in that location.
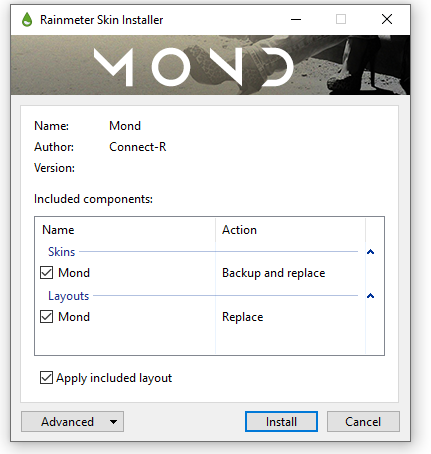
install Mond
Once saved, double click the mond file and press “install”.
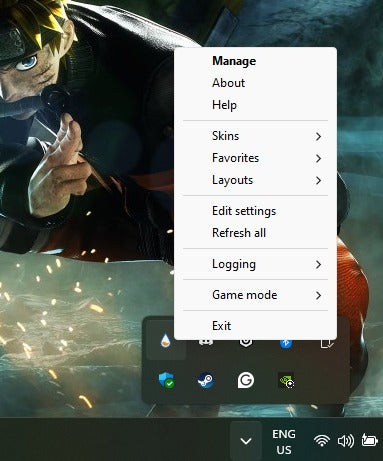
manage skins with Rainmeter
Now open the “manage” tab when you right click
the Rainmeter icon.
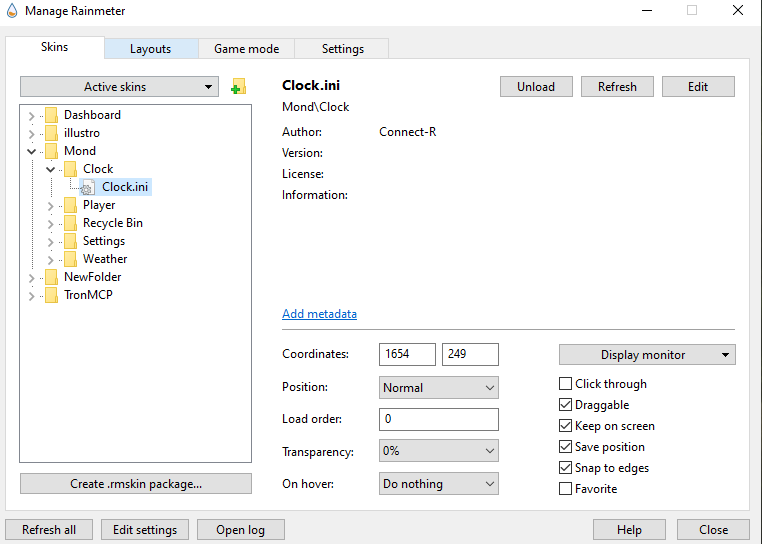
loading mond clock
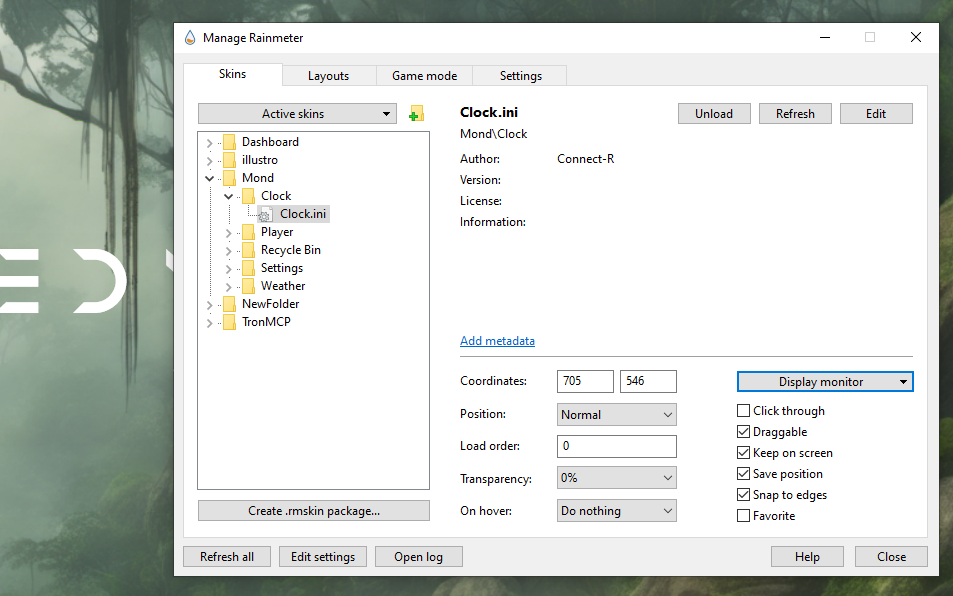
In the “manage” tab, you can use the drop-down arrow on the “mond” folder, revealing the skins/widgets available.
For now, we just want to “Load” the clock.ini
file.
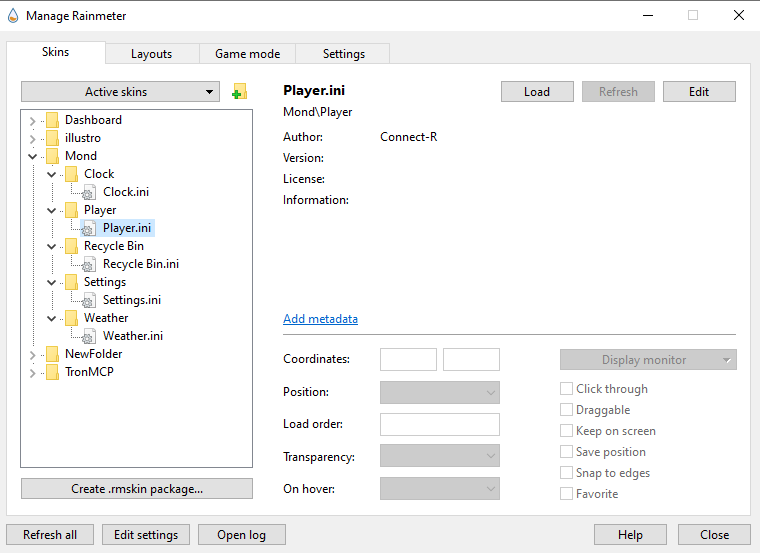
unloading other skins
make sure everything is unloaded simply open each drop down menu and click "unload".
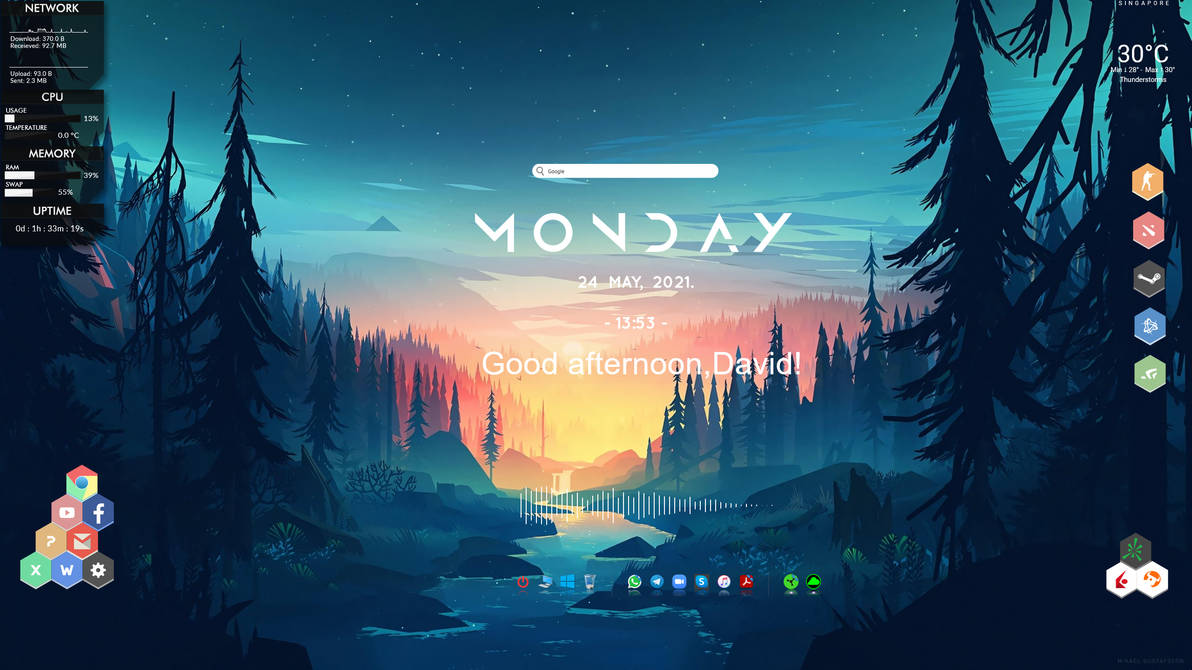
enjoy the aesthetics
On your desktop, you should only have the clock skin.
final touches
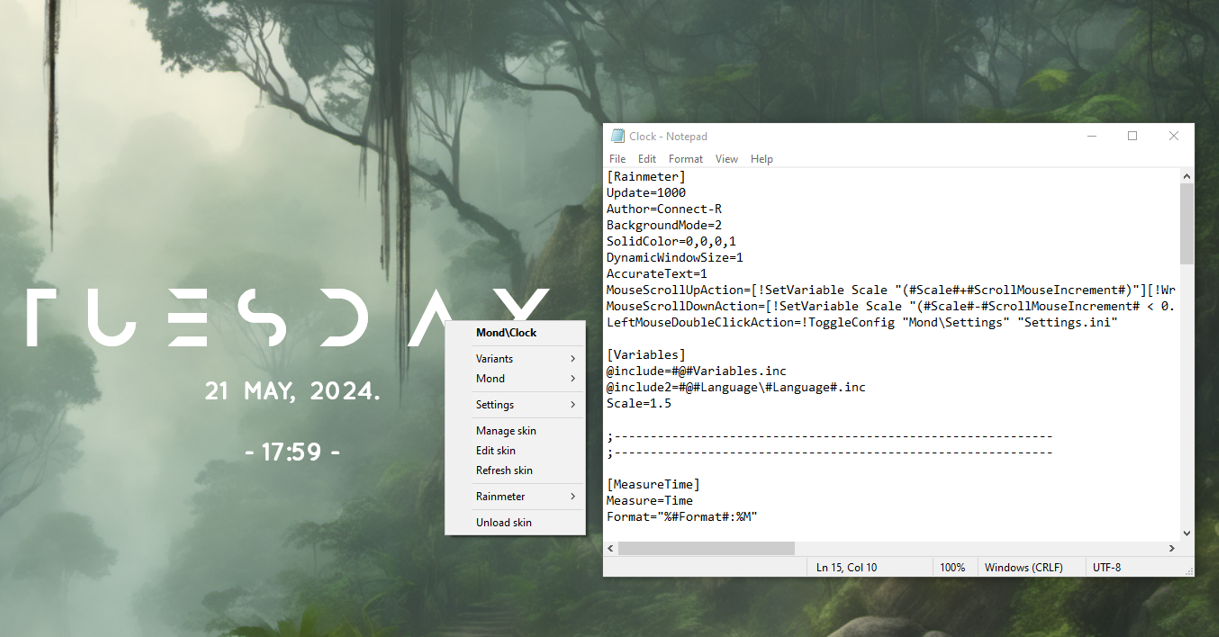
From there, you can right click the skin, and click “edit skin”, here is where the customization is available.
A simple one is to adjust the size of the skin to suit your pixsoul display.
Simple edit the “Scale” value, lower than its pre-set value.
Scale=0.8 for example,
Save the file, and then “refresh skin”
moving skins
The image can then be dragged onto you pixsoul
monitor. You can also edit the skin so it remains only on the pixsoul displays on the bottom right corner of the manage skin screen.
